This guide explains how to add a new data source to your site
The site must already be created in the portal before a data source can be added. If you need assistance in creating a new site, refer to the relevant instructions.
1. Log in to the portal using your Solytic account.
2. Navigate within the menu structure of the respective site to Configuration > Data Sources. Here, you will find already added data sources that you can edit or delete using the action points on the right side.
3. Click on "Add Data Source" in the upper right corner.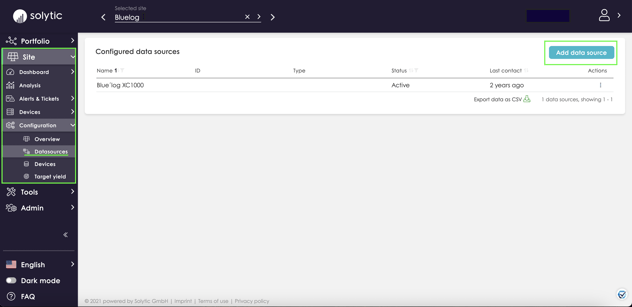
- If you cannot find a suitable option for the interface, verify here if the device you intend to connect is already compatible with Solytic. If not, feel free to contact us!
- If you are confident that the device is compatible, you can also generate a generic FTP account.
5. The following connection data to be entered into the data logger will be automatically generated by the system:
- Username
- Password
- Server Name
6. Choose the appropriate time zone under the General Settings for the data source. You also have the option to optimize the alarm system's functionality for your site.
7. Confirm your entries by clicking "Add Data Source."
You can revisit the steps described above in this product video, using an FTP interface as an example: